

My intent was to leave enough space around the triangular bezel so that I could add some little balls. BUT, when the torch flame hit my pieces it moved the bezel wire up the sheet. You'll notice how little sheet there is at the smallest end of the triangle. Oh well. Maybe I can add another larger triangle underneath and have a 'stepped' effect with enough room to add little balls.
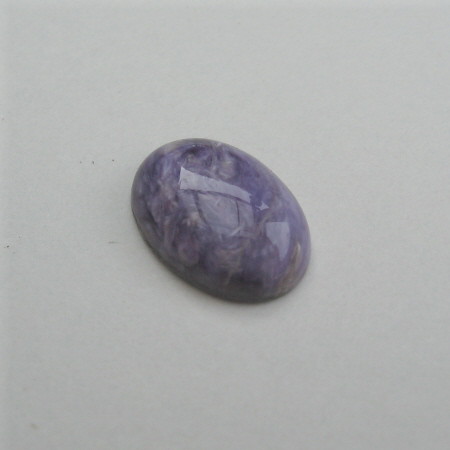
I also paid off some of my tab and bought some extra bezel wire, some sterling silver sheet, and a small oval charoite cab. I was originally going to use the charoite for my Mom's pendant, but I decided it was too small for that so next class I'm buying a bigger oval charoite cab, and a small amethyst round cab to use in the design for my Mom's pendant. The two cabs will be set on a larger soft rectangular sheet backing with two silver balls on either side of the amethyst. I'm doing a wire swirl bail. The bail will have an extra curly tail on the back of the pendant. I think it will be really pretty.
Ronnie is the jewelry designer at RadianTrace Jewelry. She's also the graphic artist at Mable's Makings, and the author of Ronnie Unplugged.


No comments:
Post a Comment