
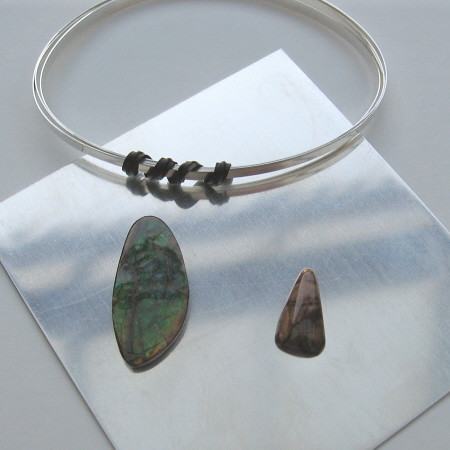
For our first class we learned about tools and safety precautions. We also selected stones for our projects, and used our jeweller's saw to practice cutting in copper sheet.
During our second class we hammered and soldered our ring shanks for our first project. I was surprised by how quickly the whole process happened. Heat, quench, pickle, hammer, form, heat, flux, solder, quench, pickle, file and we were done. I was also very surprised by how short the flame was from the torch. Filing takes the longest amount of time, and that's only if you're as meticulous as I am. I think I can do this!
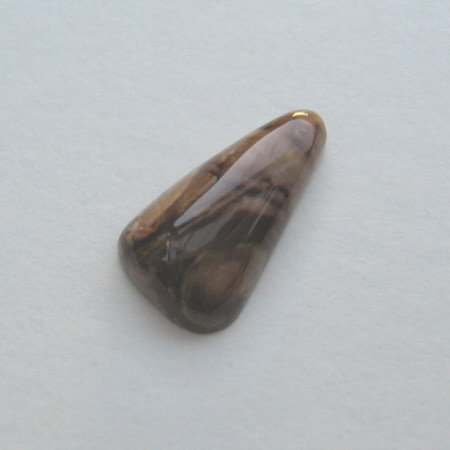
I selected a triangular piece of brown jasper for my first ring. I forget what type of jasper, but I'll ask again on Tuesday. The instructor's husband cut the stone. Here it is:
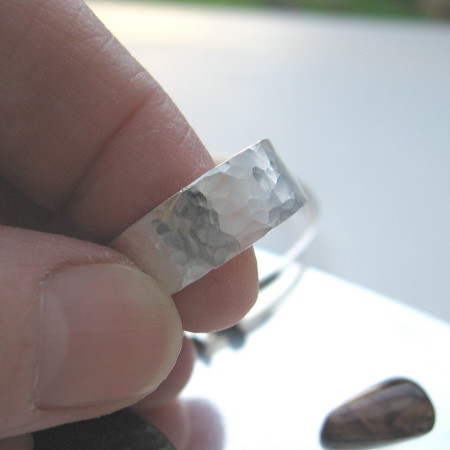
And here's what my ring band looks like before I add the bezel set stone. I will be adding a larger backing around the bezel with some sterling balls as decoration.
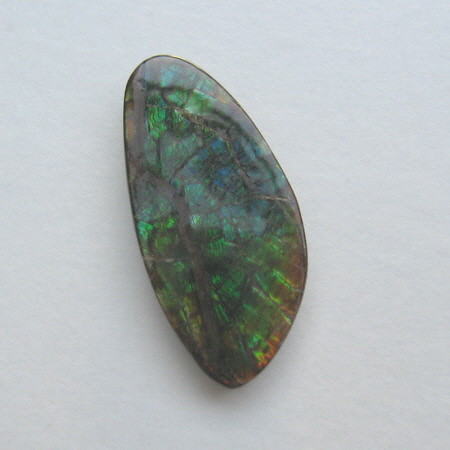
And as promised eariler here's a picture of my pretty ammolite. I will be making this into a pendant with decorative elements representing vines and buds. It's a fairly significant sized cabachon at 31mm X 14mm. I will be posting this picture again in another entry in a series I'm calling Stone Talk. I love stones so there will be a lot of talk about them. =)
Ronnie is the jewelry designer at RadianTrace Jewelry. She's also the graphic artist at Mable's Makings, and the author of Ronnie Unplugged.


2 comments:
The ring is going to be beautiful, Ronnie.
Can't wait to see a photo of the finished pendant. That stone is gorgeous.
Heather
Thank you Heather! I can't wait to show you!
Post a Comment